How aircon installation works in Singapore, from site visit to switch-on
By Sam Lee · Updated 2026-05-29
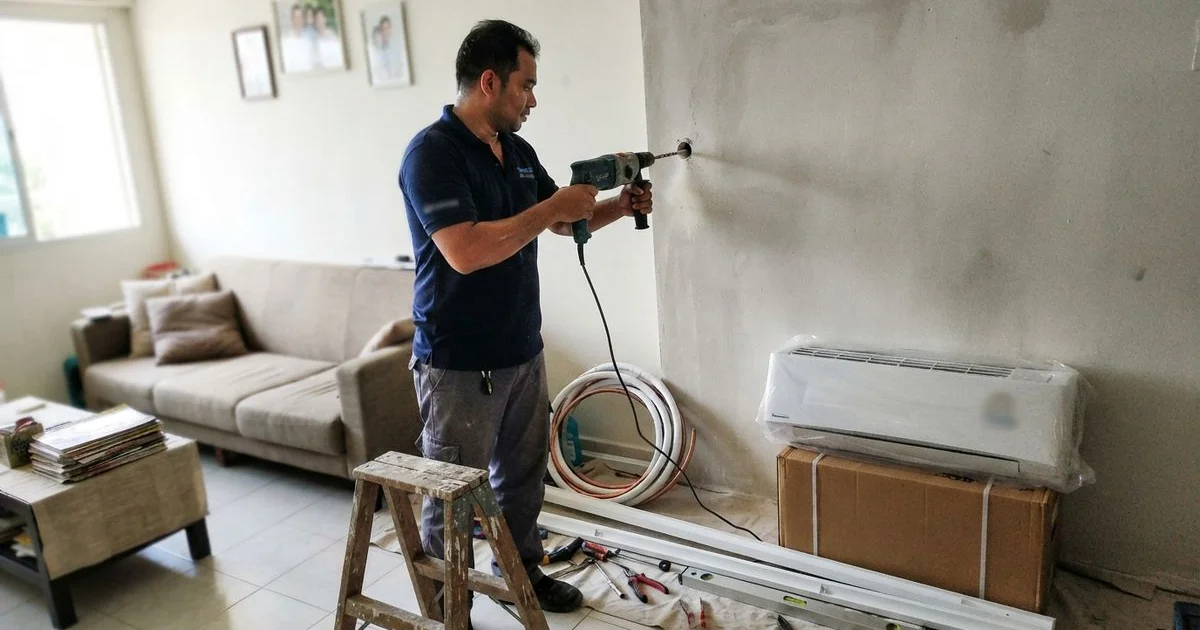
Installing a new aircon system involves more steps than most people expect, and knowing the order helps you spot when something’s being rushed or skipped.
Step 1: the site visit
Before any real quote is finalised, a contractor should see the space. They’ll look at where the indoor unit will sit, where the outdoor unit can be mounted, how far the piping needs to run between the two, and whether there’s existing trunking or wiring to work with. This step is what turns a rough phone estimate into an accurate number.
Step 2: sizing and system choice
The technician confirms the cooling capacity the room actually needs, based on floor area, sun exposure, and how many people usually use the space, and recommends whether a single split, multi-split, or larger system fits your home. Getting this step right matters more than any other single decision in the process, an undersized unit runs constantly without cooling well, an oversized one cycles too often and wastes energy.
Step 3: installation day
| Stage | What happens |
|---|---|
| Mounting the indoor unit | Bracket fixed to the wall or ceiling, unit hung and levelled |
| Mounting the outdoor unit | Bracket or platform fixed to an external wall or ledge |
| Piping and trunking | Copper refrigerant lines and wiring run between units, enclosed in trunking |
| Electrical connection | Power wired in, isolator switch installed for safe shutoff during future servicing |
| Vacuuming and gas charge | Air removed from the piping, refrigerant gas charged to the correct level |
| Testing | Unit run to confirm cooling, drainage, and noise levels are all normal |
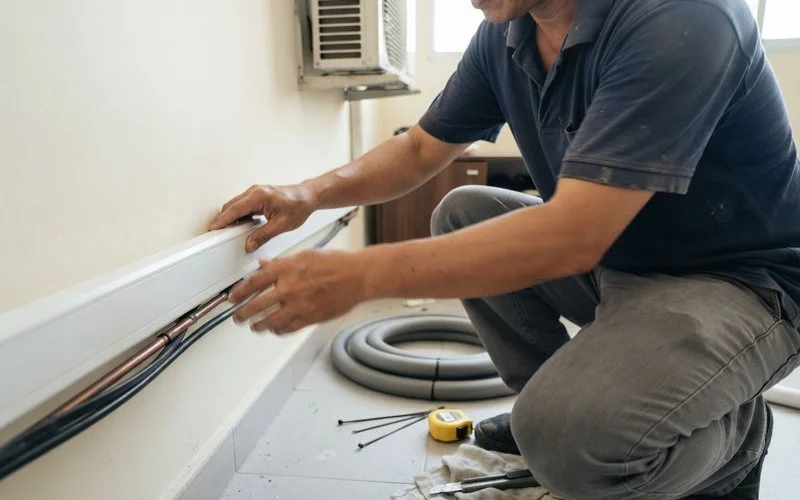
What separates a careful install from a rushed one
Vacuuming the piping before charging refrigerant matters more than it sounds, it removes air and moisture that would otherwise reduce efficiency and shorten the system’s life. A rushed installer might skip or shorten this step. Ask whether vacuuming is part of the process, a contractor who explains it without prompting is usually one who does it properly every time.
Drainage is the other detail worth watching. The condensate drain pipe needs a slight downward slope the whole way to the outlet, get this wrong and you’ll be dealing with water leaks within a year, sometimes sooner.
After installation
Before the technician leaves, they should walk you through the remote controls, confirm the unit is cooling evenly, and check that the outdoor unit isn’t leaking or make unusual noise. Ask for the warranty documentation and any paperwork confirming the installer’s licensing, this matters if you ever need a warranty claim.
A well-run installation, done properly the first time, is one of the biggest factors in how few problems you have with the system over the years that follow.
What to watch for on installation day
You don’t need to understand every technical step, but a few things are worth noticing while the work is happening. Is the outdoor unit bracket clearly rated for the unit’s weight, and does it feel solid once mounted, not just resting loosely? Is the piping run as directly as reasonably possible, rather than looping unnecessarily through walls that add both cost and points of potential failure? Is the work area kept reasonably tidy as they go, rather than left in a mess until the very end? None of these are hard to spot, and a contractor doing the job properly won’t mind you asking about any of them.
Common issues that trace back to a rushed install
Several problems that show up months or years later can usually be traced to a step that was rushed during installation. A leak from the indoor unit often comes back to an incorrectly sloped drain pipe. A noisy or vibrating outdoor unit often comes back to a bracket that wasn’t properly secured or a unit that wasn’t levelled. Reduced cooling efficiency not long after installation can sometimes trace back to a vacuuming step that was shortened or skipped. None of these are common with a careful installer, but they’re worth knowing about so you recognise the signs early rather than assuming they’re normal wear.
A well-documented installation, with photos or notes on what was done, also makes any future warranty claim far more straightforward if one of these issues does turn up.
If you’re comparing contractors for this work, our aircon installation hub is a good place to start, our methodology page explains how listings are scored, and the homepage covers every category we track.
FAQ
- How long does a typical aircon installation take?
- A single-unit installation often takes half a day. A multi-split system with several indoor units can take a full day or more, depending on piping distance and access.
- Do I need to be home for the entire installation?
- Yes, someone needs to be present to give access and make decisions on the spot if the technician finds something unexpected, like a wall that's harder to drill through than planned.
- Will there be noise, dust, or mess during installation?
- Some drilling and dust are unavoidable, especially when running piping through walls. A tidy contractor lays down protection and cleans up debris before leaving.
- What happens if the site visit reveals the job is more complex than expected?
- A good contractor tells you before starting, not after, and adjusts the quote accordingly. Long piping runs or awkward access are the most common reasons a job costs more than the phone estimate.